Measurment & Sensor Professional Group
First, the beam is roughly aligned along and across the measurement object. The detector is then positioned on the selected measuring points and the values registered. According to the measurement, three of the measuring points are set to zero, and the other points are recalculated for the newly created reference line. The measurement values at the other measurement points will show the deviation from the laser plane. The measurement values can be recalculated so that any three of them become zero references, with the limitation that a maximum of two of them are in line horizontally, vertically or diagonally in the co-ordinate system


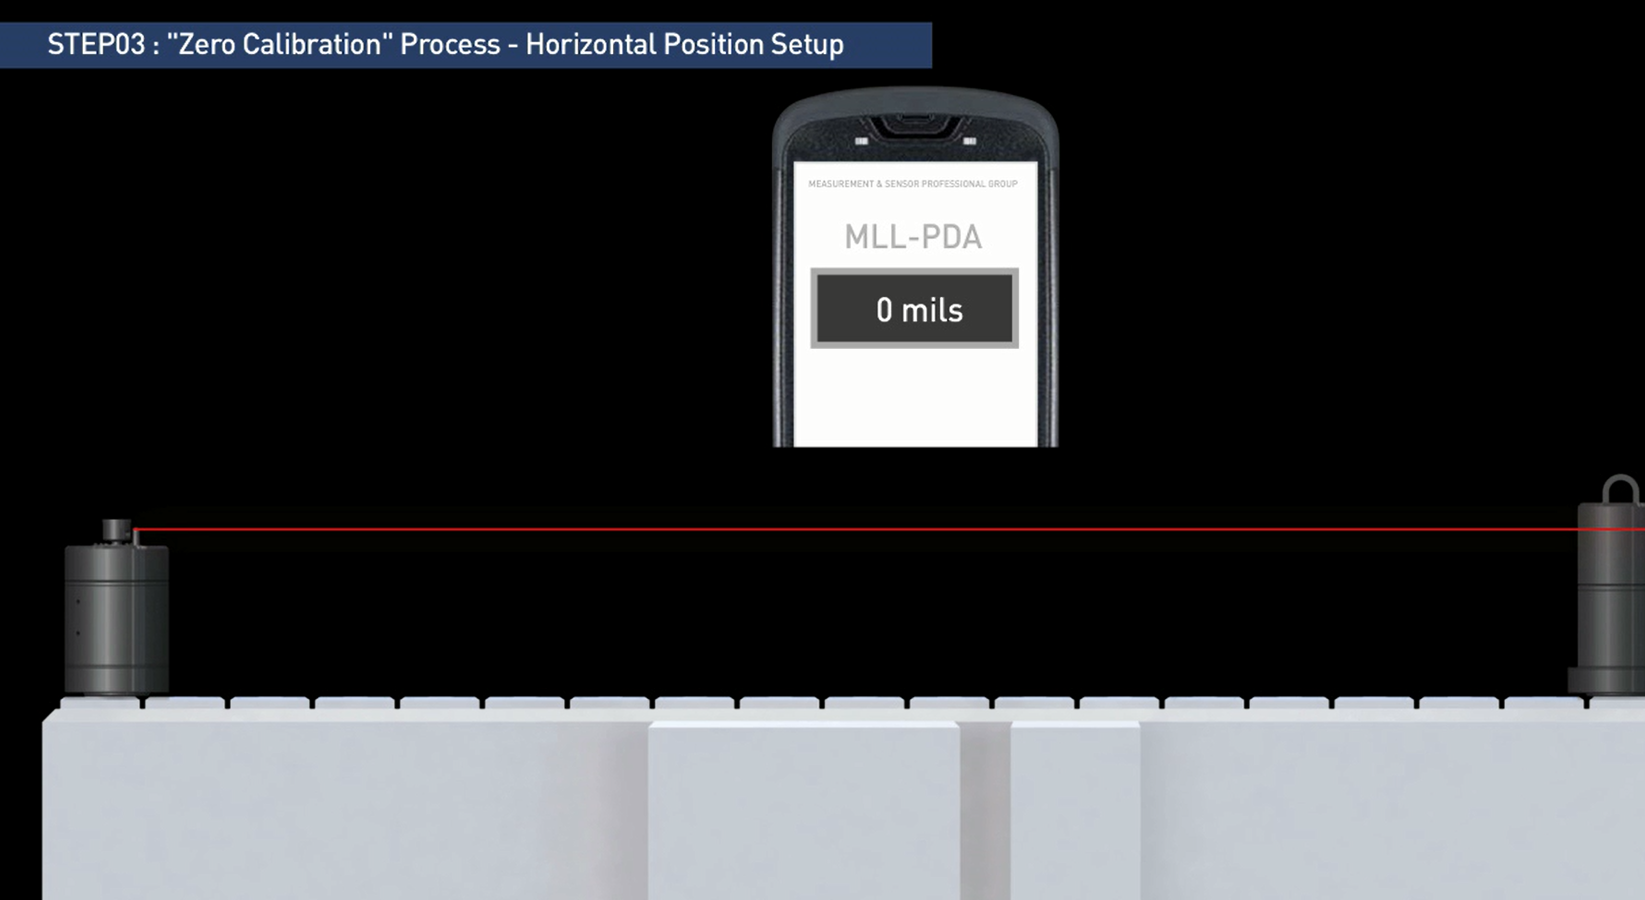
The laser beam is adjusted according to the vials on the laser transmitter, and the measurement value at the first measurement point is set to zero. The measurement values at the other measurement points will show the deviation from the horizontal plane
When measuring flatness, it is important to decide which points on the surface are to be measured. These are marked in a co-ordinate system in the X and Y axes, or at each bolt hole, for example on a flange.